Easy Pumpkin Craft for All Ages

This pumpkin craft is a great idea for kids of all ages. I help with people at my Mom's nursing home and they loved this project. I am always looking for easy crafts and when I found a link to this craft on Squidoo, I thought it would be great for my Mom's group of ladies. What I didn't expect is how popular the project would become.
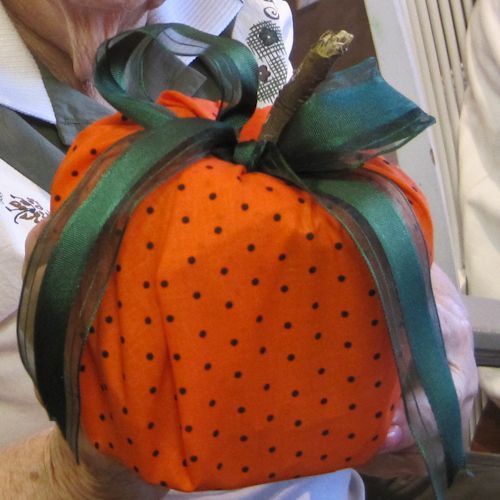
We had a variety of fat quarters of fabric for the ladies to choose from and the first step was for them to each pick out the fabric they wanted. Some were solids, some had fall leaves and another was the orange with black dots shown in this photo. The ladies were so excited that this was something they could do completely on their own and they loved the finished product. When they each had made one for their room we went on to make several more to decorate their gathering area.
My sister works with toddlers and when she saw the pumpkins at Mom's place she decided to make one too. What she really liked is that they were not breakable and she could sit them around her house in reach of the children. When the kids saw the pumpkin they loved carrying it around the house. One little boy wanted to bring it home so my sister decided the next day that they would all make their own. She put together the pumpkin parts and the kids had fun going into the yard to pick out the perfect stem for their pumpkin. When they finished each child had a pumpkin to take home.
I have made several of these pumpkins and brought them to people's houses as fall hostess gifts.
As you can see this is certainly a craft that can appeal to all ages.
Time required: 15 minutes
Difficulty: easy
Cost: under $3.00
Materials:
- 1 Fat Quarter of Fall Fabric
- 1 sheet of newspaper or tissue paper
- 1 roll toilet paper
- 24 inches ribbon
- 1 4-5 inch stick
Instructions:
1. Lay the piece of fabric right side down on the table and center the newspaper or tissue paper on top of it.
2. Sit the roll of toilet paper in the center of the paper.
3. Carefully tuck the newspaper/tissue paper into the center of the toilet paper, making sure all edges are tucked.
4. Now you pull up the material and tuck it into the center of the toilet paper roll. Tuck the short sides first and then the longer corners. When all were tucked in, I took a pencil to tuck all ends down into the roll and to make room for the stem.
5. Put the stick into the center leaving about two inches sticking out of the top.
6. Tie a ribbon around the stick and you now have a festive fall decoration.


